
I've been getting ready for Valentine's Day, making sewn paper heart garlands, and it's been so much fun that I decided to write up my first tutorial -- in the spirit of sharing some handmade love, straight from Mama's Magic Studio!
I got the idea for these garlands after seeing a beautiful example at our recent team Meet & Make at A Work of Heart. (Those were made from vintage book papers, very classy and unique.) I immediately wanted to make one for our main room, where we have a raised ceiling edge that simply begs to be adorned with garland decorations.

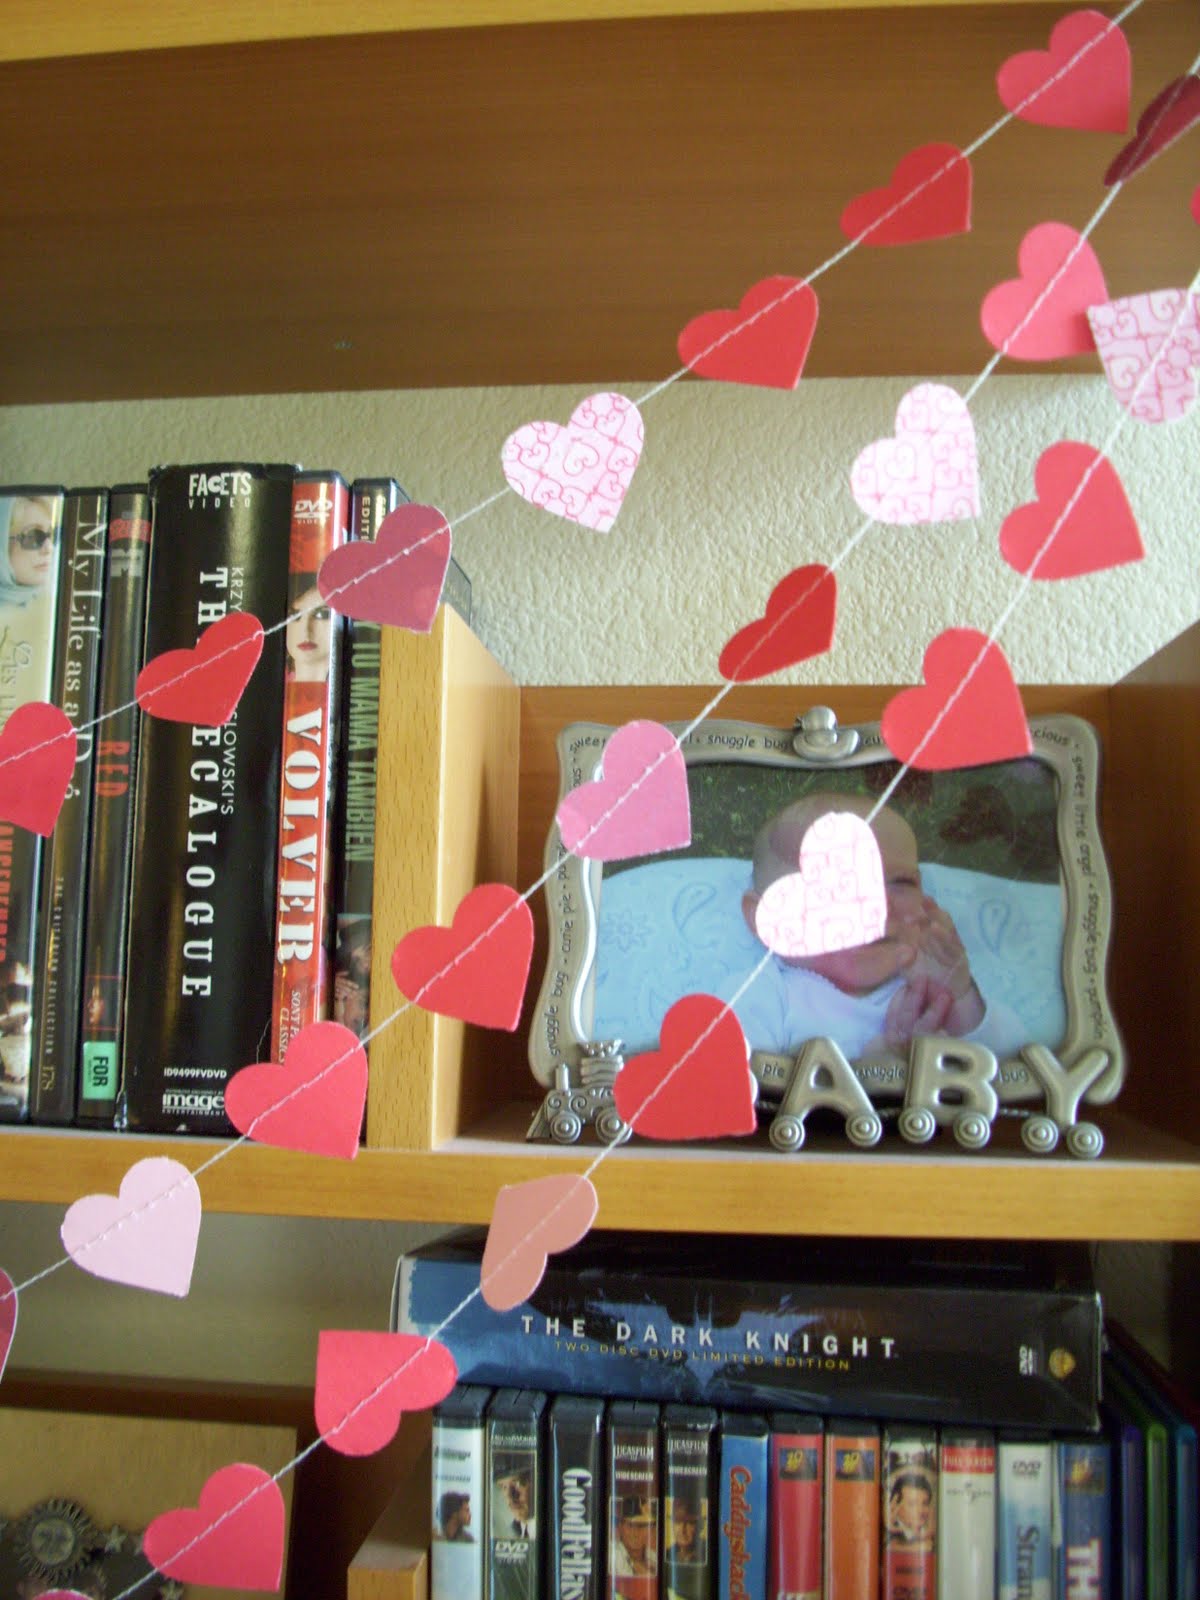
After a little experimenting, I figured out two different techniques to make two different kinds of garlands. One method (A) sews across the heart, from edge to edge of the curve.
 The other method (B) sews down the middle of the heart, between the top and bottom points. You can use either method for horizontal or vertical garlands, but in the pic below, the horizontal garland uses method A and the hanging trio uses method B.
 Both have many possibilities! In this post I'll teach you how to make both kinds.
It's the first time I tried something like this, and it was much easier than I thought it would be. All you need is paper, scissors or a heart punch, and basic skills on a sewing machine.
Start by reading through these directions to the end so that you can consider which type of garland will work best for your decorating. Part of the decision may depend on what kind of paper you want to use, since some paper may look better on the vertical and some may look better on the horizontal. Part of the decision may depend on where you want to hang it. Or both factors may come into play!
A Note on Choosing Paper for your Garland:
When choosing paper, you could upcycle paper that would otherwise be discarded (newsprint, magazines, or even old books) or you could use any kind of decorative paper -- I couldn't resist the Valentine's Day sale at Michaels and bought some scrapbooking paper in reds, pinks, and heart patterns. I used cardstock for mine, but any kind of clean, unwrinkled paper should work.
If you're not sure if the paper you want to use will be suitable, cut out a sample heart or two and do a test run with the sewing machine (see below) before going all-out with the planning.
Method A: Across the Heart (Horizontal)
1. Cut the Heart Shapes
Decide what size(s) of heart you want to use -- either all the same size or a variety of sizes. Then, cut multiple hearts. You can use a heart-shaped punch, if you like.
 Or you can stay old school, make a heart shaped template, and use scissors.
 How many hearts you need will depend on how long you want your garland to be and how big you make the hearts. Think about whether you want to create a pattern of colors and/or sizes and plan accordingly as you cut out your hearts. You can get a sense of how many you need by laying out the hearts ahead of time, with a small space between each heart. It's better to cut out a few too many than to get stuck at the sewing machine and realize you need more.
 I found it useful to lay out a line of the hearts in the order that I'd want them to be attached, so that I could switch things around as needed before sewing everything together. Once you have all your hearts cut out and an idea of how they should be assembled, head to the sewing machine.
2. Sew the Hearts Together
Use a large straight stitch on your machine.
 Since sewing through paper will dull your needle, this is a good project for using up needles that are already near the end of their useful life. (You do know you should switch your needles often, right? My mom taught me you should put in a new needle after every hour spent sewing, and I'm not that diligent, but I do try to switch often! Mama says, "Dull needles plus fabric equals mistakes!")
Use all purpose thread in a color that pleases you. I like the way white looks.
Give yourself at least 6" of "tail" thread at the beginning. This will let you hang the garland easily. Then insert the side of the first paper heart and stitch a straight line from curve to curve. Keep track of how many stitches it takes to get from side to side.
 At the edge of the heart, you will want to "sew" a number of blank stitches to create the twisted thread section between the hearts. This section of thread allows the garland to drape nicely. Different lengths of blank stitching will create different effects. Whatever length you decide, I recommend using the same number of empty stitches between each heart. I also recommend making that number of stitches in the blank stitches no larger than the number of stitches it took to cross the heart.
After you've stitched the right number of spacer stitches, feed in the next heart.
 Stitch across the next heart the same way you did the first. Here's a pic of what it will look like with the blank spacer stitching between the hearts.
 Keep going like this, alternating the stitching across the heart and the blank stitching between the hearts, until you've reached the end of your garland. Then give yourself another thread "tail" of at least 6" before clipping the thread.
Then drape your garland where you'd like it to go!
 You can also drape a single garland back and forth, for a different effect. These two garlands use all small hearts from a heart punch and blank stitching between that is the same number of stitches as across the heart.

Method B: Between The Points (Vertical or Horizontal)
For a horizontal garland, I personally prefer the look you get with method A above. But when I'd hung the garland at the ceiling, I decided it needed a little "something" at the corners, so I made vertical trios of hearts to hang where it turned the corners.
You could make a horizontal garland with vertical hearts, attaching single hearts, by using the same method as above and simply stitching the hearts in the different direction:
 Personally, I like the way these point-to-point attached hearts look when hung vertically.
But I wasn't entirely happy with the way it looked to just have the single hearts hanging down, so I decided to double them and then fold each heart for more dimensionality. When the hearts spin in the breeze, it looks neat!

Here's how to make a dimensional vertical garland with folded heart pairs:
1. Cut the Heart Pairs
Choose your paper (consider color and pattern) and decide if you want the hearts to be all the same size or a pattern of sizes. For my hanging triads, I wanted to go from smallest heart shape at the top to largest at the bottom, in an alternating pattern of papers. So I cut out two of each heart that I'd need:
 If your paper has a lined pattern, you may want to keep that in mind when you cut. If the pattern lines up the same on both heart shapes, it will probably look better.
 2. Sew the Heart Pairs Together
Place two hearts of the same size on top of each other. If they are patterned, keep in mind you will get a different effect if the same pattern sides face each other than if they do not. I prefer the way it looks if the same pattern sides face each other so it looks like you have a whole matching heart from the two folded halves.
Sew the hearts together vertically, from top to bottom point. Give yourself at least 6 inches of thread "tail" at the beginning so you can hang your garland.
 Do the blank stitching between the hearts, using the same method as described above, then feed in the second heart. Be sure the pair of hearts are lined up perfectly on top of each other when you feed them in.
 Here's what it looks like, two heart pairs stitched together with the blank stitching between. I used a fairly small blank stitching section for this method (5 stitches) because I didn't want them to hang too low.
Feed in the next pair of hearts, again making sure they are lined up on top of each other.
 If your paper has a lined pattern, it will give a nicely matched effect if you do your stitching with the lined pattern facing up, so that when it is folded you won't have to worry about any mismatched lines.
Like this:

When your garland is the desired length, give yourself a thread tail long enough for hanging if you will hang it horizontally-- or, if desired, cut off to hang vertically.
Or, you can string a bead or two on the thread. I found a bead on the bottom helped give it a little weight so it would hang nicely, plus making it look good. Thread on the bead(s) then knot it off or glue so the bead stays attached. (I put a bead on the top too, to finish off the design.) Trim the end thread as needed.

3. Fold the Heart Pairs
To finish, fold the hearts along the stitch line to get the 3D effect.

 Lastly, hang your garland! Here's my Method A garland (using alternating large and small hearts) with the Method B triads at the corners:
 I hope you have fun making your garland! I'd love to see links and/or pics if you do, and I welcome any feedback. Happy Valentine's Day Decorating!
If you're an Etsy seller in the San Francisco Bay Area, contact Jen from Mama's Magic Studio about joining SFEtsy!


6 comments:
This is very cute! :-) Will definitely try it! :-)
OMG! LOVE this and I'm telling you...I've been wanting to learn how to do this for a while...ever since I saw at Anthropologie...they had this chandelier that was made with sewn square garlands in a champagne vellum. This is awesome! Now i'm all set for copying you and copying them! ha!
love these jen! i might just need to break out the construction paper and scissors. the sewing is the best part.
thanks, everybody! I was surprised how easy they were once I figured out the technique. I really got in the groove, just feeding in the hearts one after the other! The sewing was definitely the best part :-)
I'd love to see pics if you guys give it a try! Katy, that chandelier sounds fantastic! You could totally apply this method to any shape of paper. I wouldn't call it copying -- it's all "inspiration" right? LOL!
thanks! i did this and waas surprised at the ease! thank you!
you are most welcome -- i'm glad was easy for you too! it really is a "looks harder than it is" kind of craft :-)
Post a Comment